Portland Guitar Co. | Portland Oregon | Contact Jay Dickinson-503.245.3276 | jay@portlandguitar.com
Portland Guitar Pretty Good Intonation (PGPG) System
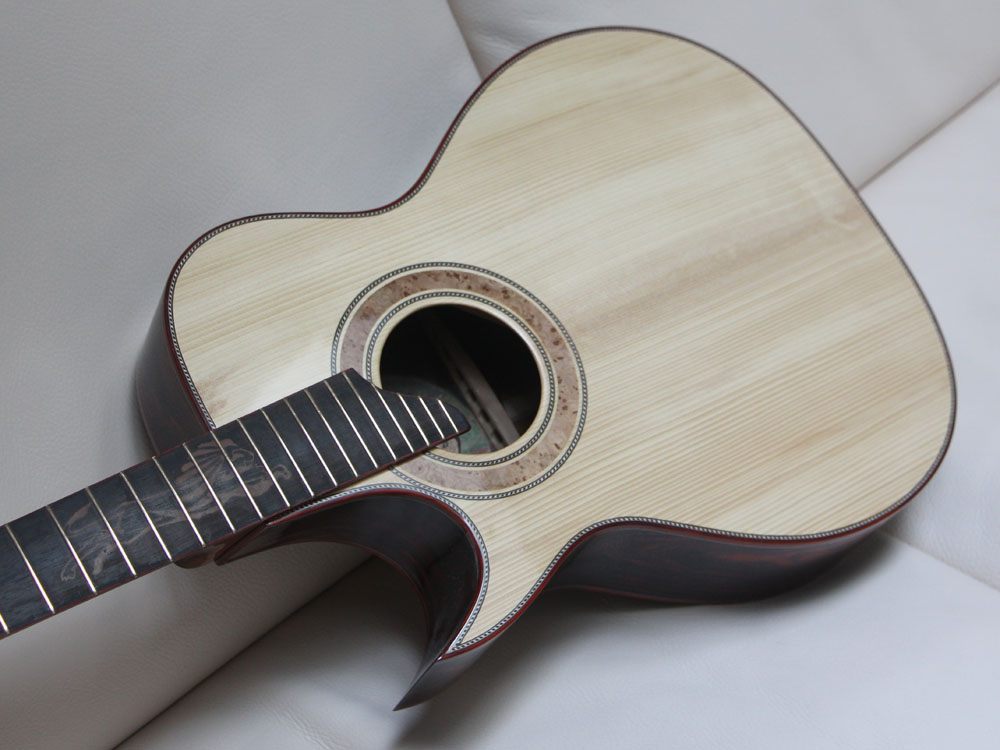
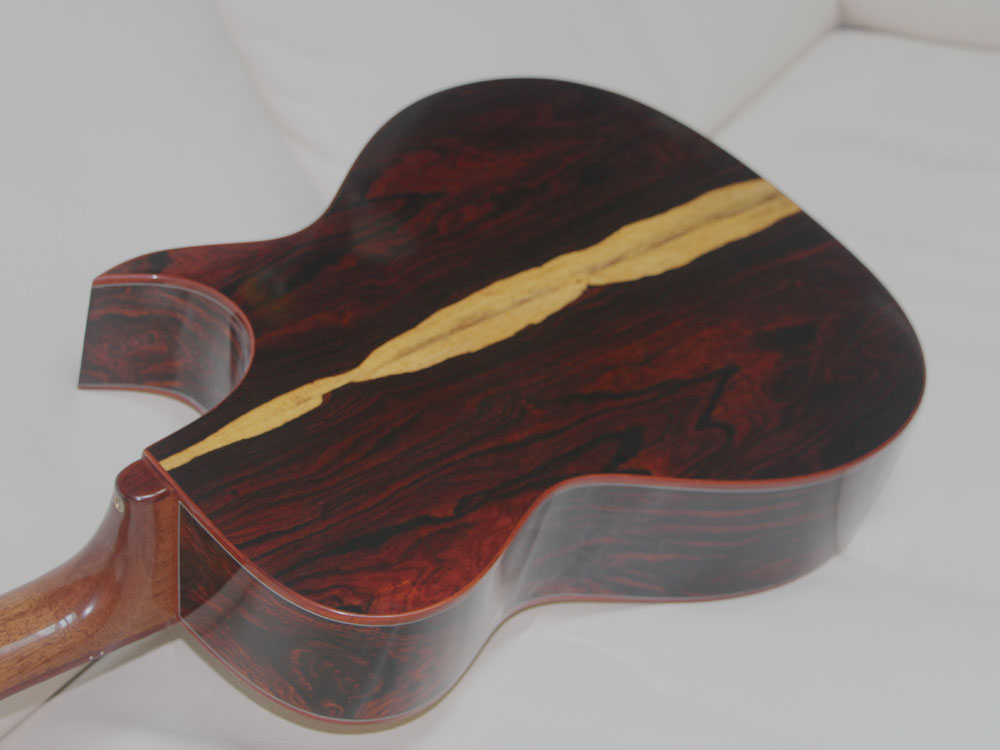
Finished Build
Orchestral Model Lefthanded Cutaway
The Lion's Claw
OMCL 2.1.57 for Phil R.
Cocobolo Body 15 inch lower bout
Adirondack Spruce Top
Lion Theme Marquetry
Mahogany Neck
Ebony Fretboard
Gold Frets & Gotoh Tuners
Padauk
Binding
25.4 Inch Scale Length
Page 9
 ( 421 ) 1-July-2013
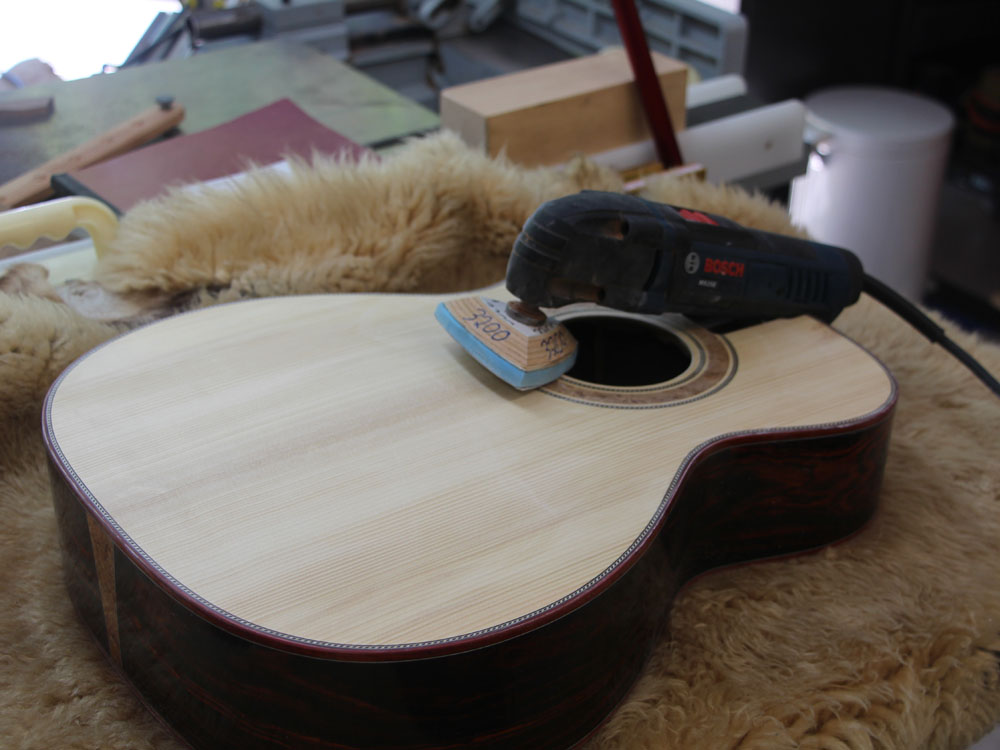
Now I start to prepare to apply the lacquer finish. getting the finish right is no easy task and one that starts when the guitar is first started. I have a saying that goes... The finish is not a surface quality but is rather a bulk quality. What I mean is that everything that goes into the guitar has an affect on the finish. Nonetheless, in this picture I am sanding the surfaces as smooth as I can.
 ( 422 ) 1-July-2013
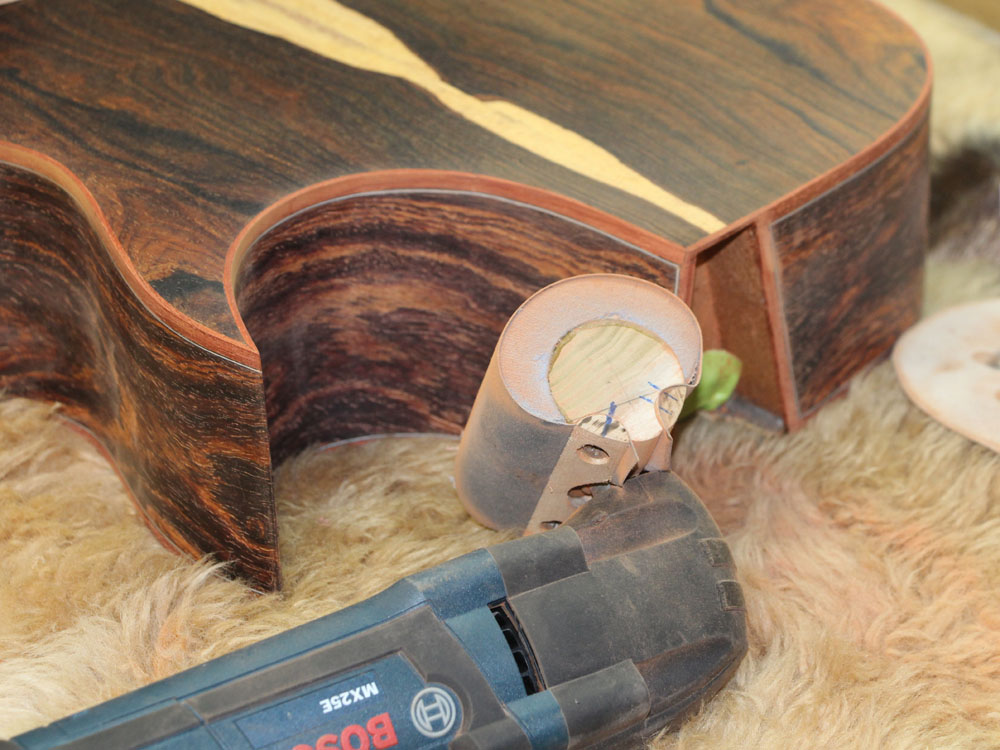
This guitar, "The Lions Claw" has an extremely deep cutaway section. To get into the cutaway and prepare the surface I have invented a new attachment to my high speed vibrating tool that allows me to follow the curve of the claw.
 ( 423 ) 1-July-2013
After the surfaces are prepared I sand a radius onto the edge of the binding. If the edge is left sharp the lacquer has a hard time adhering and when you lay your arm over the edge it will become uncomfortable.
 ( 424 ) 1-July-2013
So, a nice gentle radius.
 ( 425 ) 1-July-2013
The top, being made of Adirondack Spruce and much softer the the Cocobolo sides gets treated gingerly.
 ( 426 ) 1-July-2013
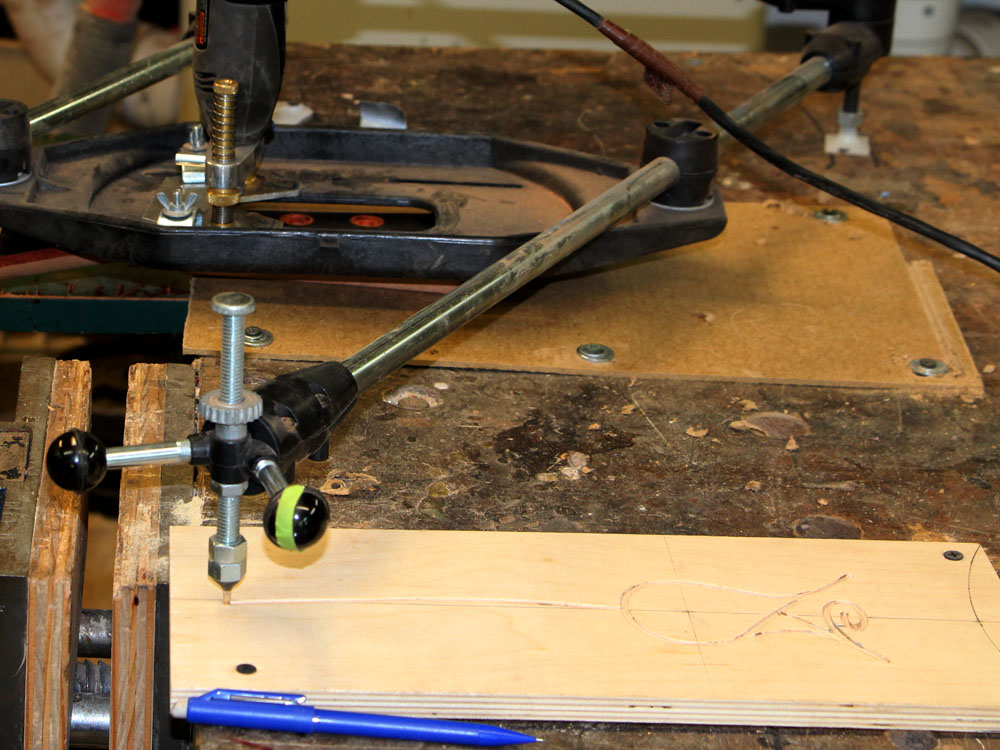
In this picture I have set up my routing pantograph to cut the channel in the head stock for the "Portland Guitar Rose".
 ( 427 ) 1-July-2013
This is a crazy machine that lets me trace a template at a reduced size.
 ( 428 ) 1-July-2013
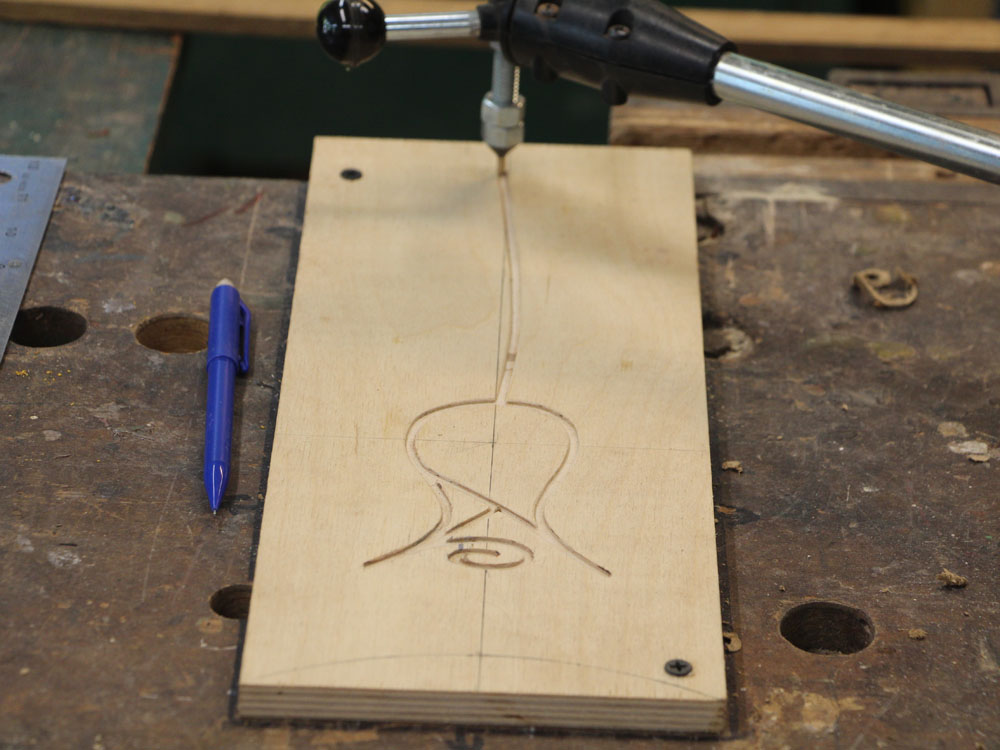
I have created this oversized template of the PG Rose.
 ( 429 ) 1-July-2013
The stylist follows the template and the router cuts a channel the same shape as the template, but reduces it by about a factor of 2.5.
 ( 430 ) 1-July-2013
When I am finished I have a nice accurate channel in the headstock.
 ( 431 ) 1-July-2013
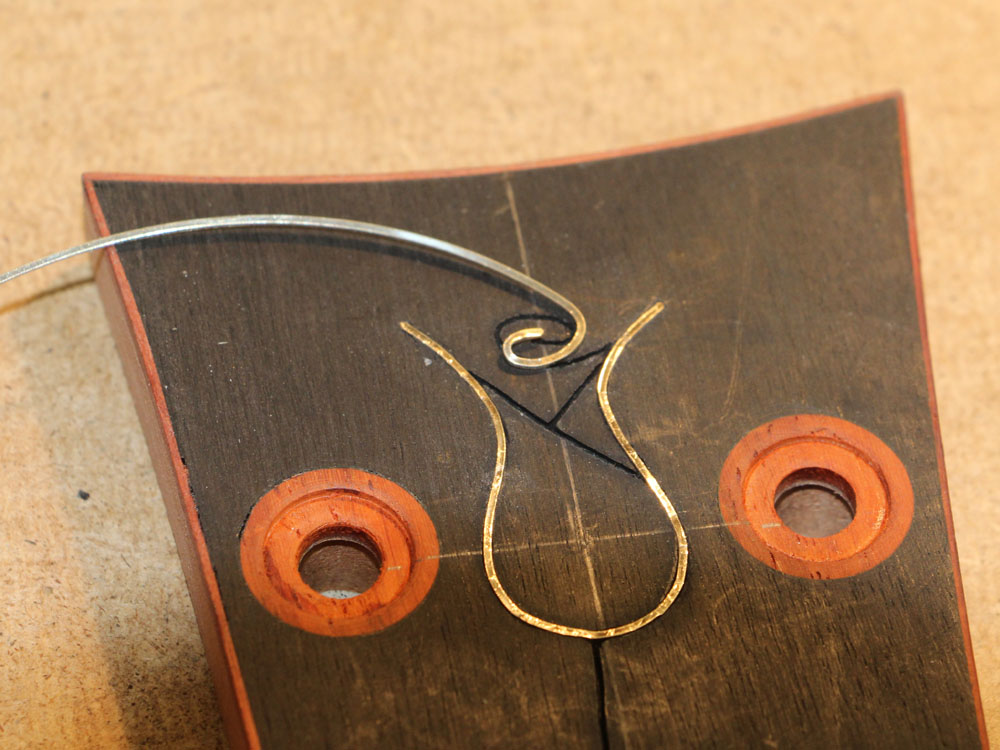
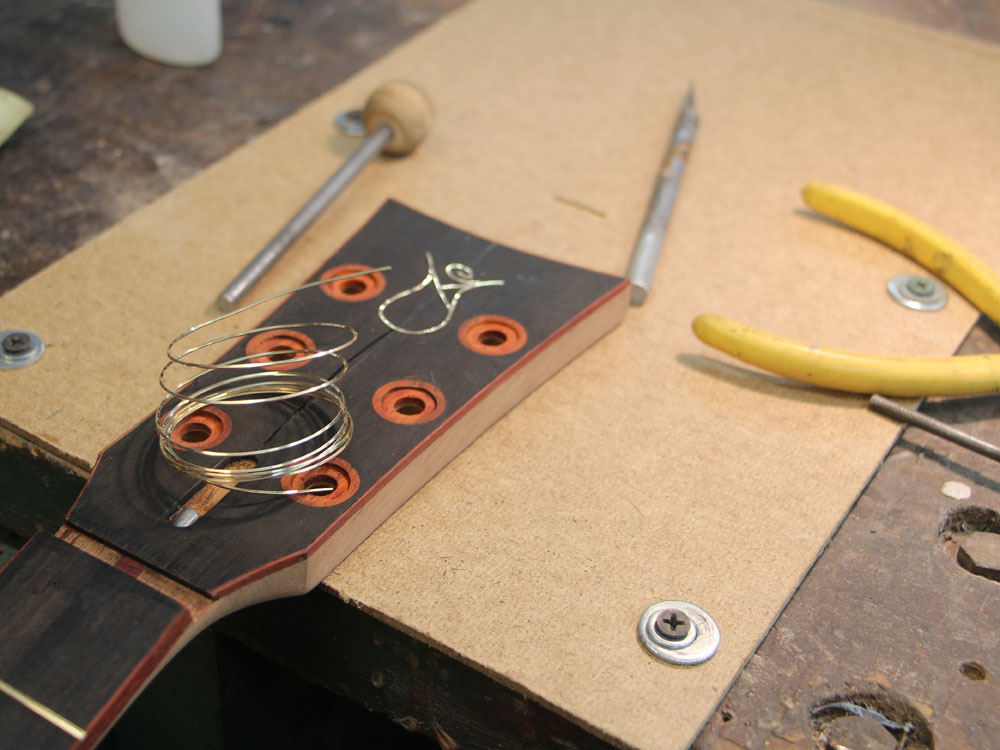
Now I can start to inlay the gold wire that will make up the rose.
 ( 432 ) 1-July-2013
The curly que. The design of the rose came about when I asked my daughter whose name is Jasmine Rose to design a signature rose for my business. Portland is known as the Rose City and I have taken it as my business name and with my daughter's name I thought it would be a natural to have a rose as my signature logo. With my addition of one line, Jasmine came up with this design. I am always touched to add it to my guitars, Thanks Jasmine.
 ( 433 ) 1-July-2013
A few of the tools I use to create the rose inlay. When the guitar has a silver theme I use silver wire, and when we use a gold theme I use gold wire. I like to keep the marquetry of my guitars internally consistent if I can.
 ( 434 ) 1-July-2013
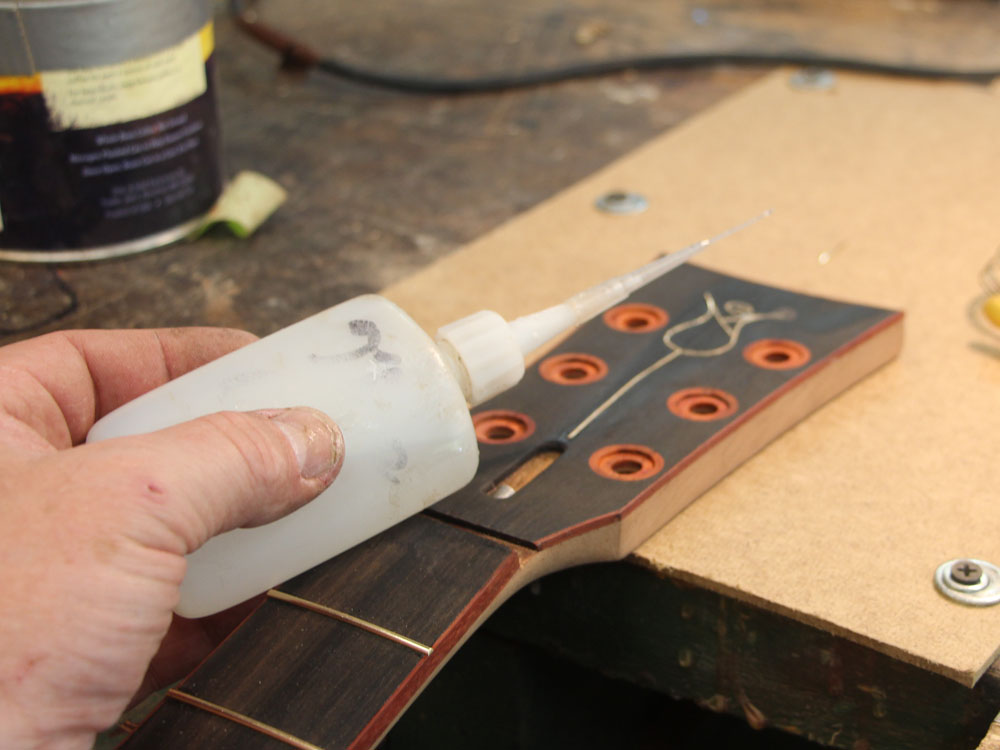
When I finish pressing the wire into place it stands proud of the surface.
 ( 435 ) 1-July-2013
I glue it into place.
 ( 436 ) 1-July-2013
And then I start to sand everything flush.
 ( 437 ) 1-July-2013
I use progressively finer sand paper to get the right appearance and texture.
 ( 438 ) 1-July-2013
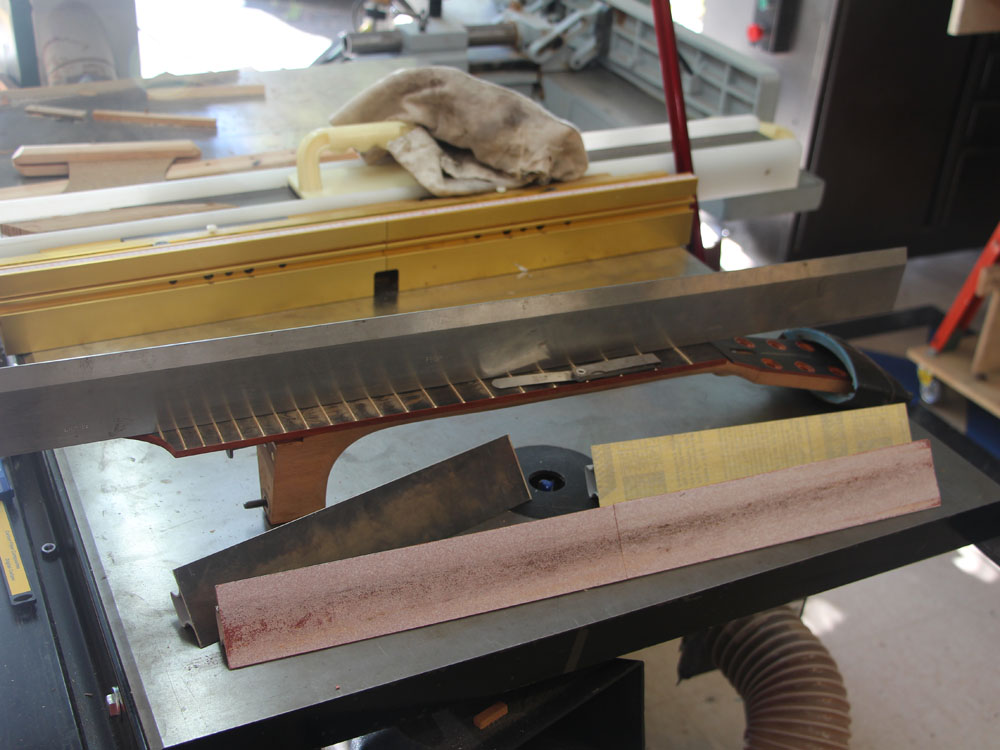
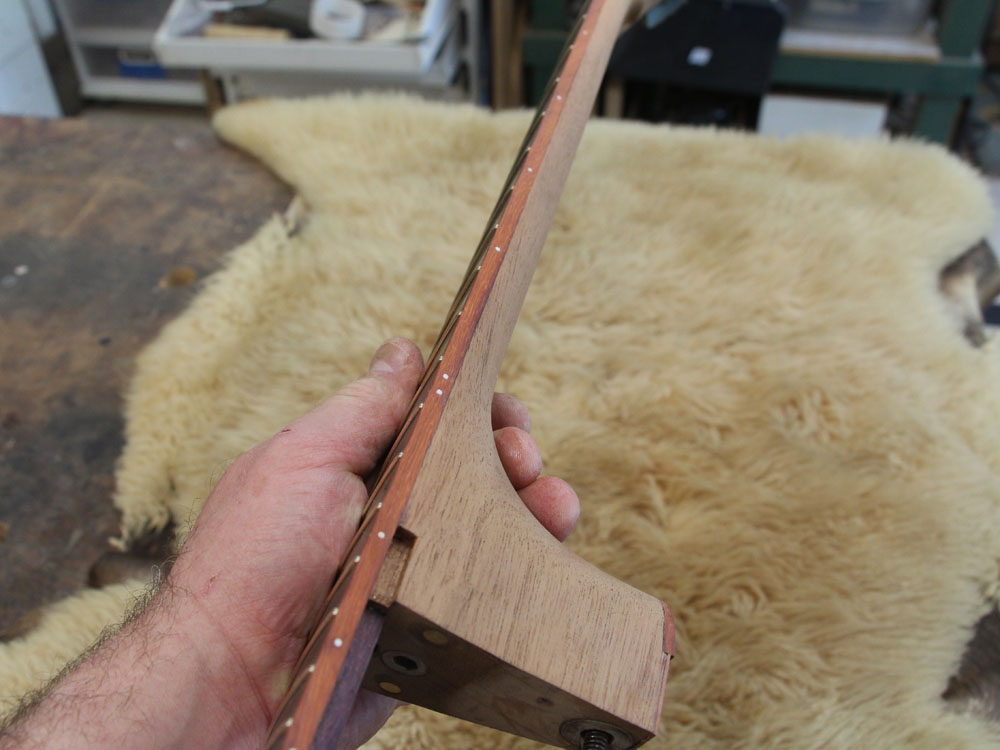
In this picture I am dressing the frets to make sure there are no high or low frets along the fret board. I use my industrial straight edge and a feeler gauge to individually check each fret.
 ( 439 ) 1-July-2013
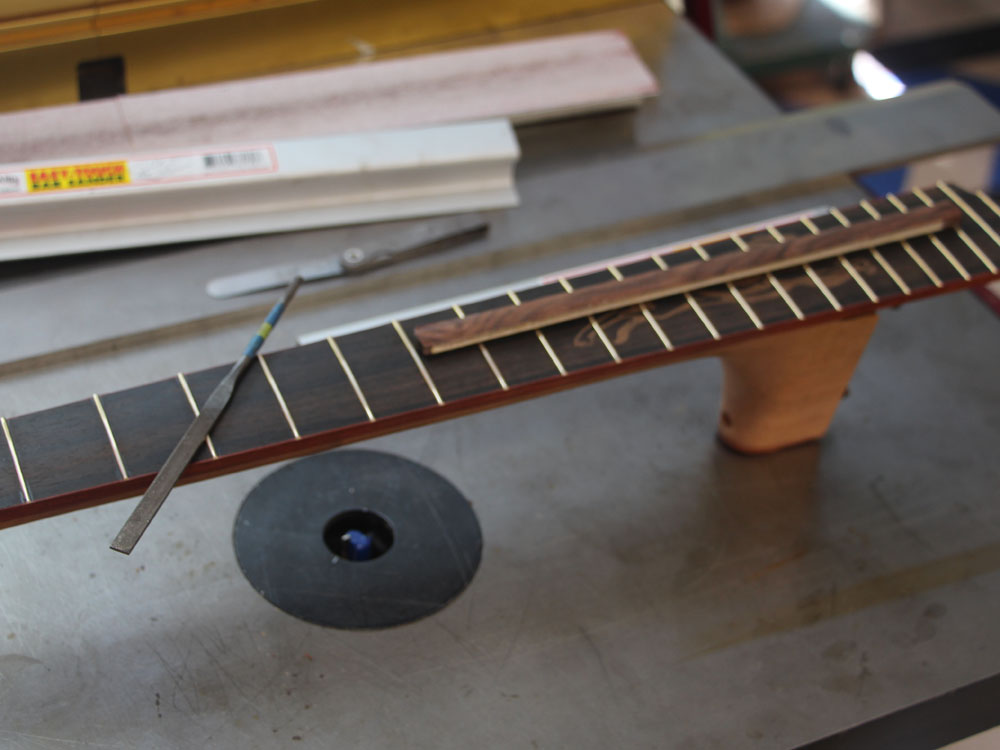
Then I turn my attention to making the ball ends of each fret. I have developed a technique where the ends of the frets become little hemispheres. These are gentle to the touch and when properly illuminated look like a string of pearls.
 ( 440 ) 1-July-2013
I use a specially modified file to help me along.
 ( 441 ) 1-July-2013
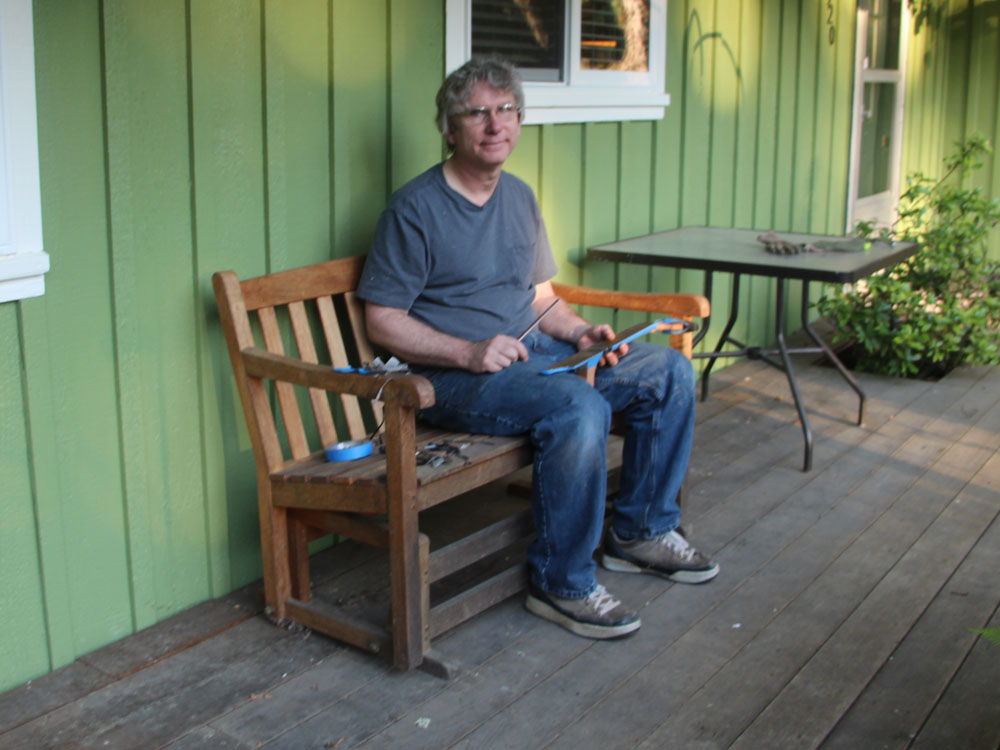
When I can I like to sit outside and work on dressing the frets.
 ( 442 ) 1-July-2013
Here I am drilling the holes for the side dots.
 ( 443 ) 1-July-2013
 ( 444 ) 1-July-2013
Next I install the wood insert in the neck adjustment hole.
 ( 445 ) 1-July-2013
Before I am done I will make a strap pin that will go here. It serves double duty, covering the hole and acting as the strap button.
 ( 446 ) 1-July-2013
Cocobolo and Mahogany, being a hard woods have open pores. I use an epoxy filler to close fill these up before applying the lacquer. I have masked off the areas I don't want getting messy.
 ( 447 ) 1-July-2013
Most of this epoxy will get sanded off as I only want the pores filled.
 ( 448 ) 1-July-2013
We will end up with a nice smooth surface.
 ( 449 ) 1-July-2013
 ( 450 ) 1-July-2013
Here I have set up my spray booth. I use a water bourn urethane that I spray on. This curtain contains the over spray and has an over head filter to keep the dust to a minimum... I wish.
 ( 451 ) 1-July-2013
I filter the lacquer before I start.
 ( 452 ) 1-July-2013
And I use a balloon to plug up the sound hole.
 ( 453 ) 1-July-2013
The process of applying the finish is to lay down several coats of lacquer and then sand the surface smooth. This is repeated many times. The process eliminates any dust that does get trapped and eventually fills in the low spots and knocks down the high spots. I am often asked how many coats of lacquer I apply. That is really not the right question though because I sand off so much material. However, when I am finished the lacquer will be about 5 mil thick, a little less than the thickness of a piece of light paper.
 ( 454 ) 1-July-2013
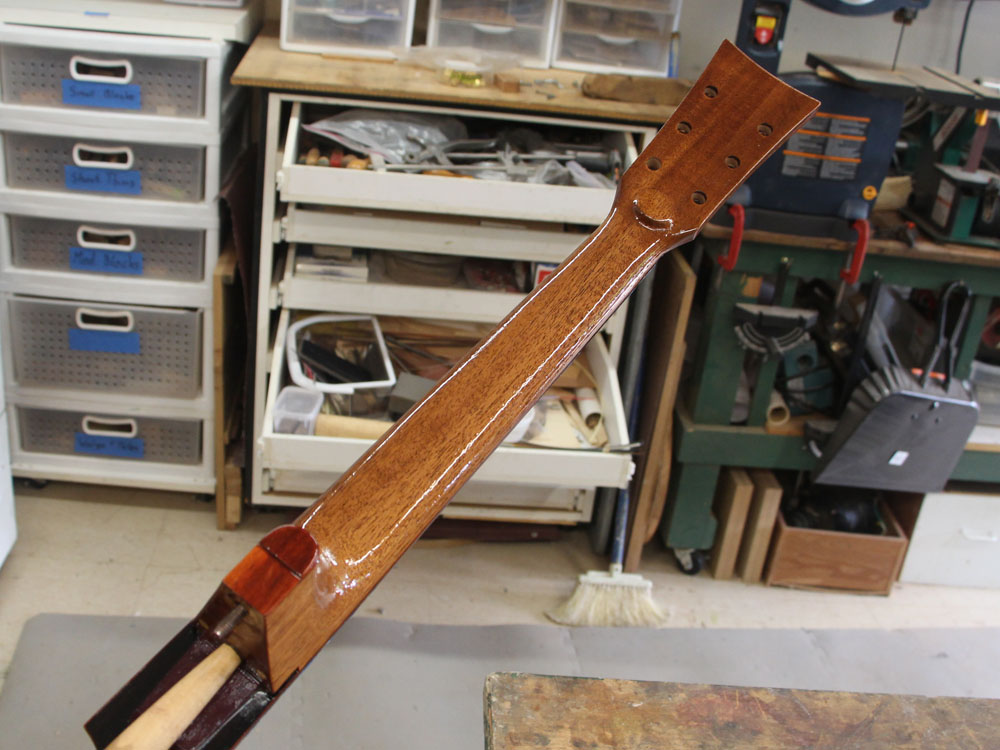
After letting the lacquer cure for about a week I start to bring out the shine. I do this by using progressively finer sets of polishing cloth. The lacquer will continue to cure over the next year, getting harder and shrinking a bit.
 ( 455 ) 1-July-2013
To finalize the shine I use a two stage polishing wheel.
 ( 456 ) 1-July-2013
Here I am installing the tuning machines.
 ( 457 ) 1-July-2013
And a couple of looks at the shinny new guitar.
 ( 458 ) 1-July-2013
These pictures don't really do it justice.
 ( 459 ) 1-July-2013
When I am finished I will take a set of art shots for the gallery.
 ( 460 ) 1-July-2013
We are very close to being finished. Next I will make and install the bridge, the strap pins, the truss rod cover, and the pick guard. Then I string it up and play it... if I can left handed.